
Saturday, August 22, 2015
Wednesday, June 4, 2014
Invitations! For $2.49...
Thanks to the Graphics Fairy (yet again) and a thrift store find of a brand new make-your-own greeting card kit, I was able to make great invitations with matching envelopes and inserts for about two dollars and fifty cents. Really nice heavy paper made these look very "real" and I rounded the corners by hand using a nickel to trace a curve. The cutting was easy and just took a few minutes.


...More Cool Free and Low Cost Stuff
It has been a kind of cool week in terms of getting my hands on free stuff. I was able to get a free dining table with three additional leaves from Craigslist. The guy threw in two wooden chairs, one very much an antique. He also gave me a globe on a fantastic metal stand. The globe is in sorry state...it is coming apart but based on countries on the map it is pre-1948....I was super excited about that one! Then I scored ten brand new silk pillow covers from Goodwill for a dollar a piece. I am going to use these for chair covers because I realize that recovering all the chair before the party just may not happen: Here are the newest finds (although I don't have pictures of the two wooden chairs):


I also had scored last year a nearly complete set of china for 12 on craigslist for $20! I couldn't believe it. I went to pick some piece sup and the gentleman said "we found some other boxes do you want those?" Of course I did! There were additional pieces, 14 tea cups and nearly all the pieces were perfect. There are some with a chip here or there but who is complain for what amounted to about .25 cents a piece....
I then found the matching gravy boat on Ebay for $2.99...how could I resist!!
"Grandfather Clock" Project
This is another project based on free found stuff. The clock was part of a series of items that I received free. It works, and I was inspired to do something but didn't want to spend a lot of money. I stumbled onto metal shelf brackets on clearance at target. One package had only a single bracket and I negotiated for it. I ended up getting the brackets for about $2 each. That along with scrap lumber we had, paint already in the garage as well as miscellaneous trim I am making an inexpensive prop standing grandfather clock....kind of not really...but it will be standing. This is still in progress and needs a paint finish. The colour right now is just a base coat:


Painting the Lighting Fixture
I had found new on Craigslist (still in the box) this chandelier. It was seriously cheap, only a few bucks. The guy had several. He had been in the business of setting up department store displays and often used them as props. A couple coats of copper paint and a little misting with a dark bronze it is begging to take shape.
I will wire it to work with a plug (will share more later) and sew a fabric casing for the chain to cover it. Here are the pics:


I will wire it to work with a plug (will share more later) and sew a fabric casing for the chain to cover it. Here are the pics:
Saturday, May 17, 2014
How to Make Your Own Steampunk Themed Chair:
Free is good, so when I scored three Duncan Phyfe styled vintage chairs I had visions of using them for my Steampunk dinner party. Only problem was the worn and frankly ugly covers. Two chairs were matching and had worn velour that didn't look original and one has a dated flower print, also most likely not original. I set out to create something fun with: free clip art, my own printer, freezer paper, staple gun, ribbon trim and heavy muslin. I had to search for the freezer paper, but hidden on a low shelf I did find it. All our local big box stores didn't have it. It's not cheap but the roll will last years at the rate I'm going. My local budget fabric store had super heavy muslin, rough weaved, and super wide for $4 a yard...can't beat that with a stick. I hit Joanne's Fabrics for this burlap ribbon. Again a little pricey for what it was but I had a 50% off coupon so it became budget friendly.
Below is the pictorial of the steps I took. I read blogs about using freezer paper to stabilize fabric to run through your printer, used a simple program (Publisher) to edit colours to my liking, found free clipart at http://thegraphicsfairy.com/ (she is awesome) and thanks to a loving partner, didn't need to use my manual staple gun since I was generously given an electric one. I also found that if I hot ironed the ink it seems to sink in, not rub off on anything else and not run....but I can't vouch for the longevity of it all...only time will tell since I'm too cheap to buy ink stabilizer. I've only completed one chair but will post others as I go.
Step one: find free chairs.
 Step two: remove seat, keep screws, and optional restore finish with a little tinted wood oil/cleaner.
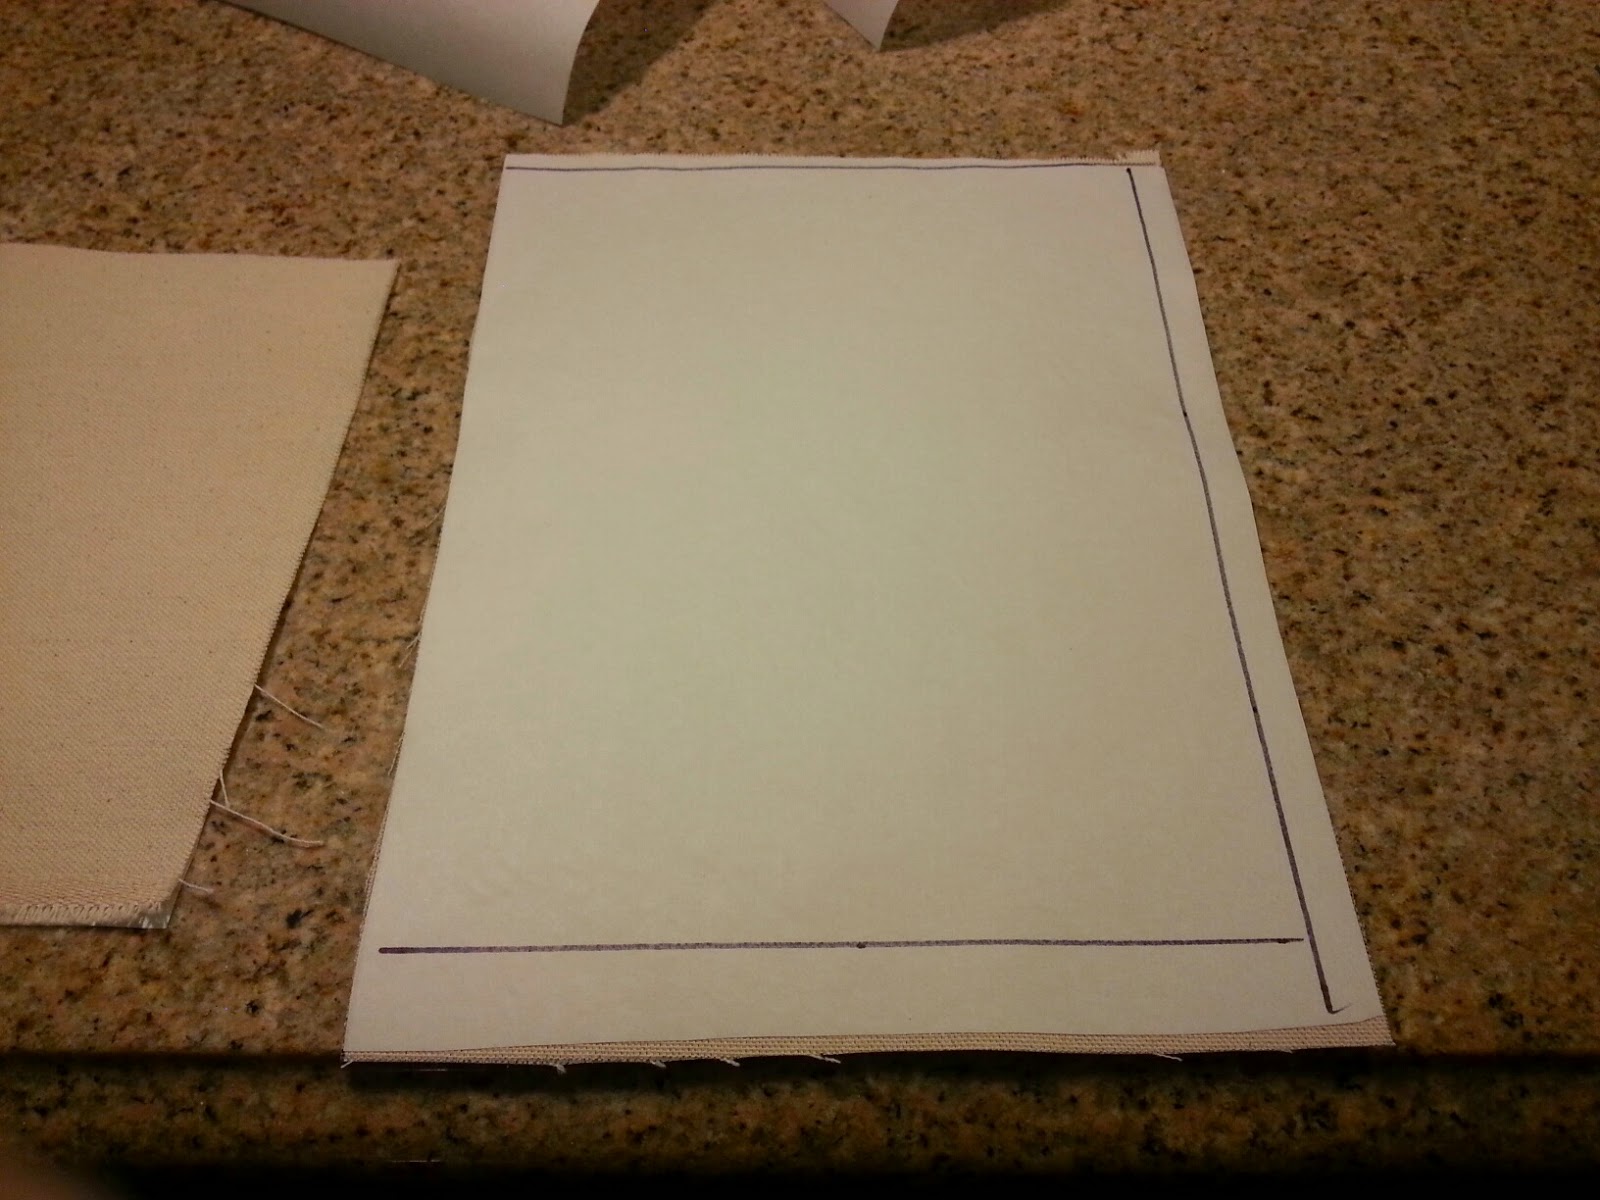
 Step three: cut fabric to 8.5" x 11", the maximum size my printer would handle.


 Step four: iron on freezer paper (shiny side touching fabric) to fabric to be printed.
 Step five: trim stabilized fabric down to printer size with nice clean edges.
 Step six: position graphics that you are happy with on your printable fabric.
 Here are my two graphics
 Step six: IMPORTANT test fit everything before sewing or stapling, I'm testing for fit;
 I decided on setting my printed patches this way MAKING SMALL REFERENCE MARKS (this really should have been step seven but I lost track of my numbering).
 Step seven: adhere fusible tape to the edges of printed patches to help keep your fabric steady. Be careful, I was sloppy and made a sticky mess of my iron which then resulted in a time out to clean it.
 Step eight: on your premarked fabric, iron patchs into place.
 Use Fray Check on any lose ends of trim.
 Step nine: cover raw edges with trim, can you see where I messed up?
 The stitched cover;
 The chair after I stapled the new fabric on, directly on the old fabric. In hindsight I probably should have used a little new batting under it all for a little more cushion...but oh well. Next time...


Below is the pictorial of the steps I took. I read blogs about using freezer paper to stabilize fabric to run through your printer, used a simple program (Publisher) to edit colours to my liking, found free clipart at http://thegraphicsfairy.com/ (she is awesome) and thanks to a loving partner, didn't need to use my manual staple gun since I was generously given an electric one. I also found that if I hot ironed the ink it seems to sink in, not rub off on anything else and not run....but I can't vouch for the longevity of it all...only time will tell since I'm too cheap to buy ink stabilizer. I've only completed one chair but will post others as I go.
Step one: find free chairs.
Tuesday, April 1, 2014
Been Gone a While but...
A NOTE ON SCAVENGING
I haven't posted much but I have been collecting. Mostly free stuff because frankly free is good. I don't have photos of everything yet but I wanted to share a list of things I have acquired for the dinner party.
I probably should begin by saying that the dinner party will be held outside in the frame of an EZ-up portable awning. The idea is to drape it, light it, and fill it with totally cool stuff. Here is the list;
EZ -up - free from neighbor because it had no top.
Huge box of curtains some with really cool Asian motif - free from Craigslist
Mirror - free from Craigslist
8 Chairs; four black bar chairs, three vintage Duncan Phyfe chairs, and one ladderback chair - all free from Craigslist.
Fabric to cover chairs, random bits, $4 muslin/discount fabric. Curtain panels $3 for all from thrift store.
Vintage china service for 12, almost complete -- $20, yes less than a tank of gas....and yes, Craigslist.
Assorted serving platters and soup tureen - free from a house that had stuff piled in the yard. I asked if I could take/buy, the answer was "take whatever you want."
Steampunk wall clock - free from the house above.
Really cool metal and wood stand - free from house above.
Metal chandelier, new in box $10 - Craigslist. This will need to be wired to a plug in set up opposed to a hard wire set up. Also will antique it by spraying it with some interesting spray paint.
Christmas twinkle lights - four boxes - $2 (clearance)
2 bolts of snakeskin looking fabric, one brown, one dark red - right place/right time when retail fabric shop was dumping damaged fabric bolts.
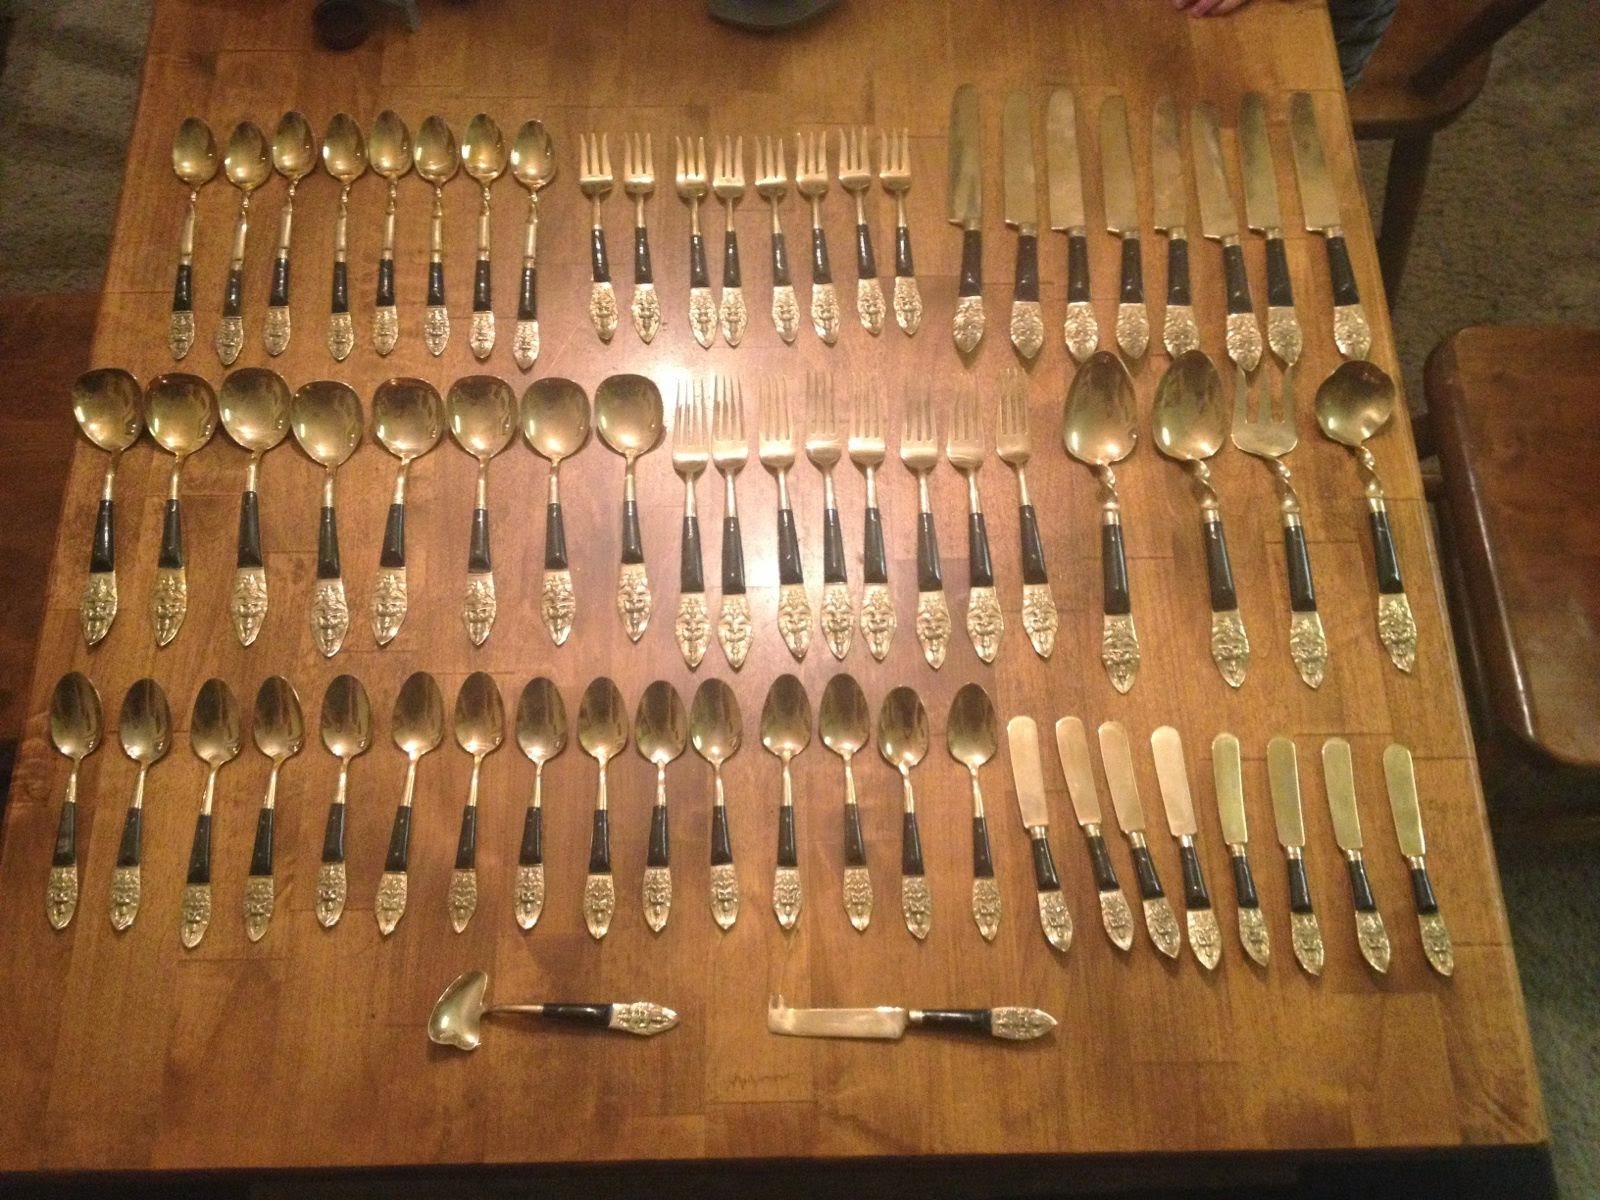
Really cool vintage Thai service for 8 - $7 + $10 shipping, Ebay
Vintage radio - $10, this will be used to house the Ipod and speakers to have music at dinner, will probably sit on the neat stand.
There are other bits and pieces but for now these are the basics. Remember people let stuff go, cool and interesting stuff...you just have to be there to catch it before it goes to someone else or in the trash.


Subscribe to:
Posts (Atom)