Free is good, so when I scored three Duncan Phyfe styled vintage chairs I had visions of using them for my Steampunk dinner party. Only problem was the worn and frankly ugly covers. Two chairs were matching and had worn velour that didn't look original and one has a dated flower print, also most likely not original. I set out to create something fun with: free clip art, my own printer, freezer paper, staple gun, ribbon trim and heavy muslin. I had to search for the freezer paper, but hidden on a low shelf I did find it. All our local big box stores didn't have it. It's not cheap but the roll will last years at the rate I'm going. My local budget fabric store had super heavy muslin, rough weaved, and super wide for $4 a yard...can't beat that with a stick. I hit Joanne's Fabrics for this burlap ribbon. Again a little pricey for what it was but I had a 50% off coupon so it became budget friendly.
Below is the pictorial of the steps I took. I read blogs about using freezer paper to stabilize fabric to run through your printer, used a simple program (Publisher) to edit colours to my liking, found free clipart at
http://thegraphicsfairy.com/ (she is awesome) and thanks to a loving partner, didn't need to use my manual staple gun since I was generously given an electric one. I also found that if I hot ironed the ink it seems to sink in, not rub off on anything else and not run....but I can't vouch for the longevity of it all...only time will tell since I'm too cheap to buy ink stabilizer. I've only completed one chair but will post others as I go.
Step one: find free chairs.
Step two: remove seat, keep screws, and optional restore finish with a little tinted wood oil/cleaner.
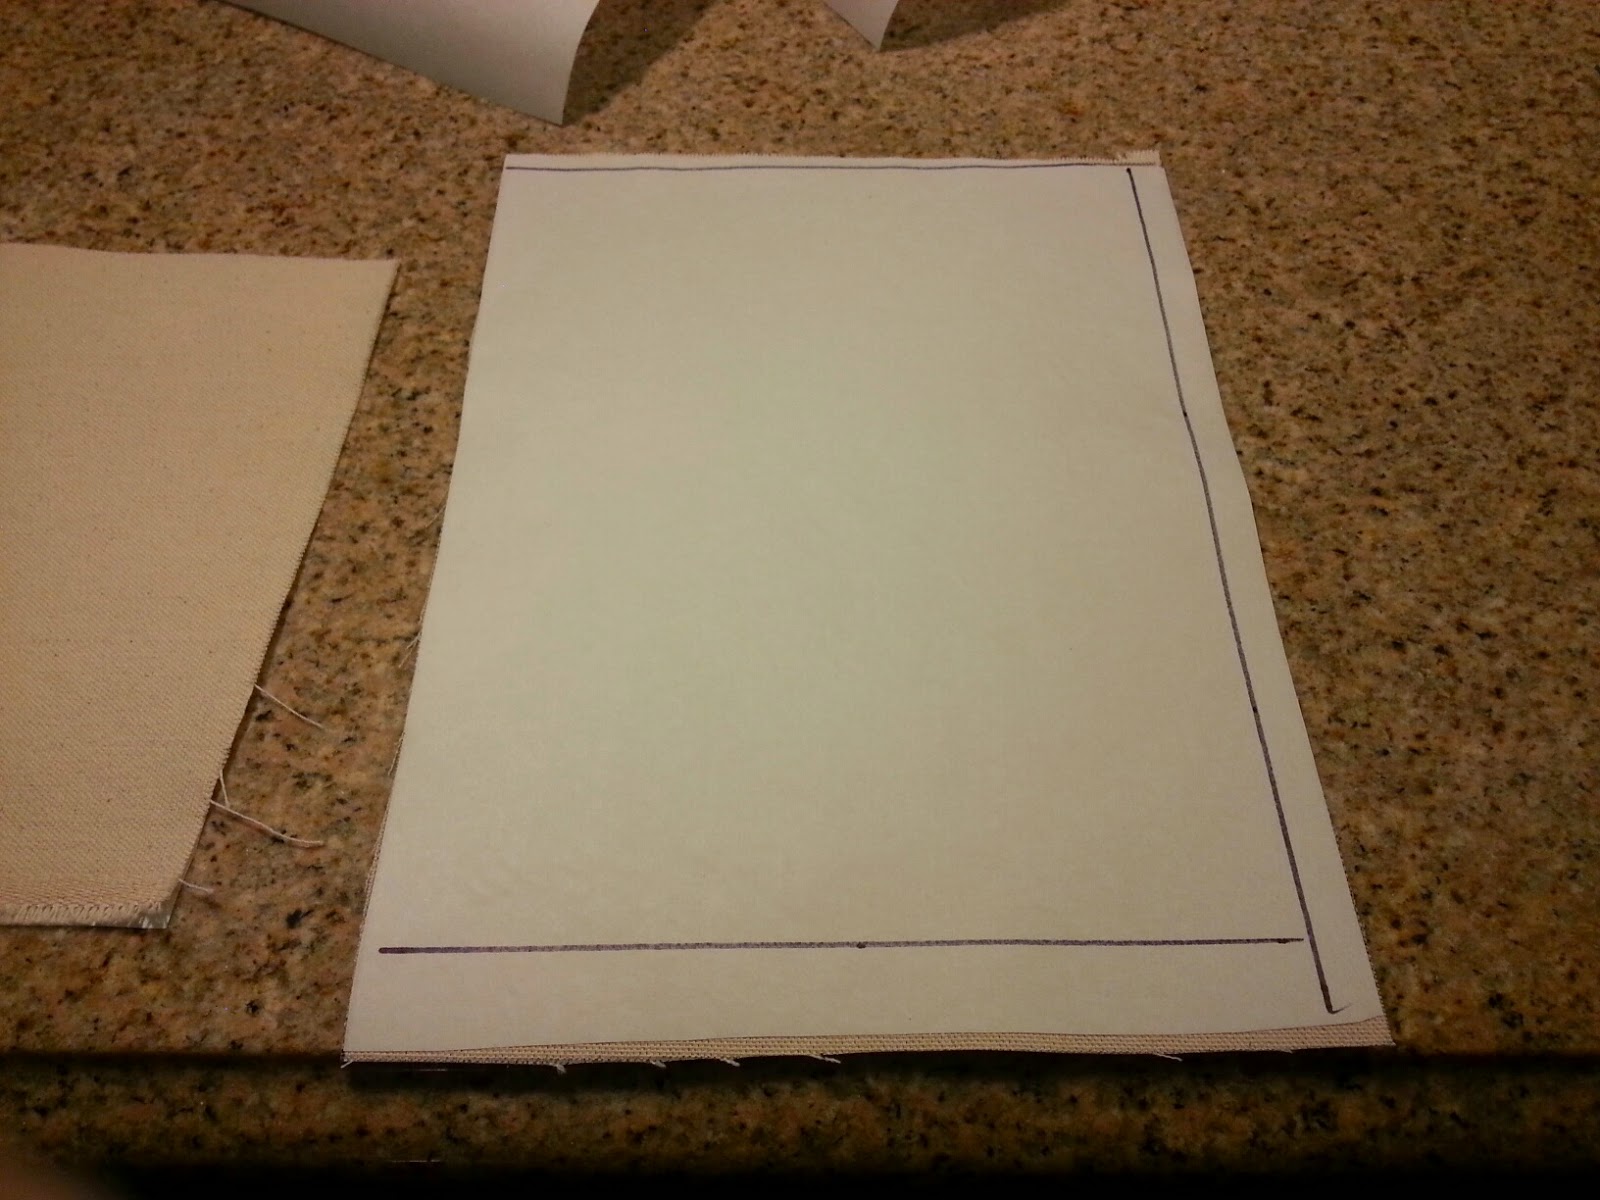
Step three: cut fabric to 8.5" x 11", the maximum size my printer would handle.
Step four: iron on freezer paper (shiny side touching fabric) to fabric to be printed.
Step five: trim stabilized fabric down to printer size with nice clean edges.
Step six: position graphics that you are happy with on your printable fabric.
Here are my two graphics
Step six: IMPORTANT test fit everything before sewing or stapling, I'm testing for fit;
I decided on setting my printed patches this way MAKING SMALL REFERENCE MARKS (this really should have been step seven but I lost track of my numbering).
Step seven: adhere fusible tape to the edges of printed patches to help keep your fabric steady. Be careful, I was sloppy and made a sticky mess of my iron which then resulted in a time out to clean it.
Step eight: on your premarked fabric, iron patchs into place.
Use Fray Check on any lose ends of trim.
Step nine: cover raw edges with trim, can you see where I messed up?
The stitched cover;
The chair after I stapled the new fabric on, directly on the old fabric. In hindsight I probably should have used a little new batting under it all for a little more cushion...but oh well. Next time...